

Navigating the digital world can sometimes be a daunting task, especially for those of us with specific needs that standard interfaces may not accommodate. Fortunately, with iOS 17 and iPadOS 17, Apple introduces a thoughtful solution: Assistive Access. This feature revolutionizes the way users interact with their devices, tailoring the experience to be more focused and less cognitively demanding. If you’re wondering how to set up and make the most of this feature, you’re in the right place.
The Basics of Assistive Access
Let’s start with a basic understanding of what Assistive Access is. This feature in iOS 17 and iPadOS 17 allows you to customize your apps to significantly reduce cognitive load. It’s ideal for users who benefit from a more focused and simplified interface. The whole process is designed to be user-friendly and supportive, requiring a trusted supporter to assist in the setup and customization of Assistive Access.
Setting Up Assistive Access: A Step-by-Step Guide
- Initial Setup Requirements: To kickstart the process, you’ll need a trusted supporter by your side. The setup involves creating a unique passcode specifically for Assistive Access. You may also need your Apple ID and password, serving as a backup exit method.
- Beginning the Setup: Dive into the ‘Settings’ on your device and tap on ‘Accessibility’. Here, you’ll find the option for Assistive Access. Ensure that your Apple ID is signed in on the device for a seamless setup process.
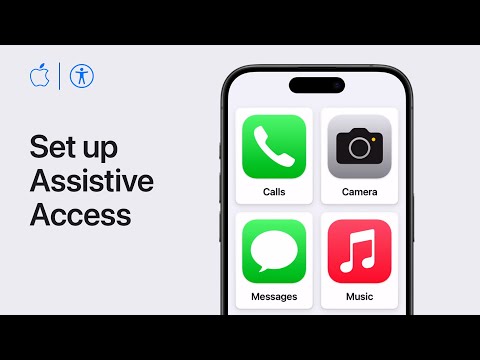
- Customizing Your Interface: This is where the magic happens. You can choose between a row or grid layout for text and app icons. Each app can be tailored to your needs. For instance, in the Calls app, you can limit calls to selected contacts and enable essential features like the dialer keypad. The customization options vary per app, giving you the freedom to create an experience that best suits your needs.
- Adding Apps to Assistive Access: Not only can you add specially adapted apps, but also regular apps. These regular apps will feature a consistent back button, making it easier to navigate back to the Home Screen.
- Finalizing Your Setup: After customizing to your heart’s content, set a specific passcode for Assistive Access. Providing your Apple ID as a recovery option is also a wise step. Follow the on-screen prompts to complete the setup.
- Using Assistive Access: To activate Assistive Access, head back to the Accessibility settings. You’ll find that every app now has a consistent back button, simplifying navigation and enhancing your overall experience.
Additional Resources
The video concludes by encouraging users to explore more about Apple’s accessibility features on their YouTube channel and playlists. This is a great resource for staying updated and making the most out of your device’s capabilities.
Summary
iOS 17’s Assistive Access is more than just a feature; it’s a testament to inclusive technology. With its focus on customization and ease of use, it opens up a world of possibilities for users with specific needs, ensuring that everyone has a comfortable and enjoyable experience with their devices.
Remember, technology is at its best when it can be accessed and enjoyed by all, and Assistive Access in iOS 17 is a shining example of this principle in action. Happy exploring!
Source & Image Credit: Apple
Filed Under: Apple, Apple iPhone, Guides
Latest aboutworldnews Deals
Disclosure: Some of our articles include affiliate links. If you buy something through one of these links, aboutworldnews may earn an affiliate commission. Learn about our Disclosure Policy.


