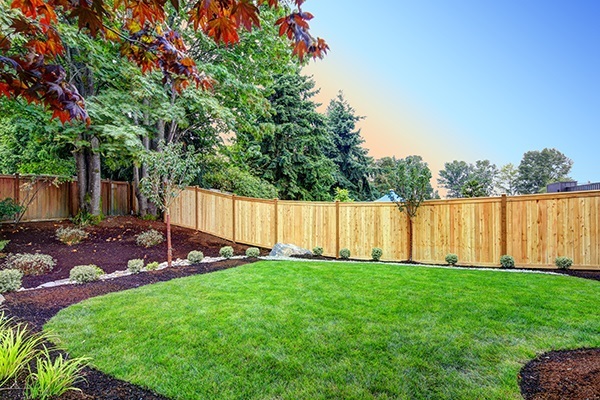
Introducing your comprehensive guide to installing a fence on your own. This step-by-step guide will take you through every process stage, from selecting the right materials to applying the finishing touches.
Whether it’s for privacy, security, or to add aesthetic appeal to your property, a well-built fence can significantly enhance the value and functionality of your home. With a little time, effort, and this guide, you’ll be well-equipped to undertake this rewarding DIY project. Let’s get started!
Planning and Preparation
Before you begin, it’s essential to have a solid plan in place. Begin by determining the purpose of your fence, the type of materials you’ll use, and its desired height and style. Consider any local building codes or HOA regulations that may apply and obtain all necessary permits.
Next, gather all your tools and equipment, including measuring tape, level, hammer, post-hole digger, and materials such as posts, rails, pickets, and concrete. Ensure you have the right safety gear, including gloves and eye protection.
Marking Out
It’s time to mark out where your fence will be located. Use stakes and string to outline your fence line accurately. Measure and mark out the location of your posts, ensuring they are evenly spaced and plumb.
Double-check all measurements before moving on to the next step. This step is crucial, so make sure to do it properly or everything else after might not go as smoothly.
Installing Posts
With your fence line marked out, it’s time to dig holes for your posts. The depth and diameter of these holes will depend on your local building codes and the height of your fence. Typically, a hole should be 1/3 of the length of your post and at least 8 inches in diameter.
Once you’ve dug all your holes, place a post in each one, ensuring they are level and plumb. Use braces to keep them upright while the concrete sets for added stability. Once the posts are set, cut off any excess height and let the concrete cure for at least 24 hours.
Installing Rails and Pickets
After the concrete has cured, it’s time to install the rails and pickets. Begin by attaching a rail to each post using screws or nails, ensuring they are level and evenly spaced. Then, attach the pickets to the rails, starting from one end and working along the fence line. Use a level to ensure the pickets are straight and evenly spaced, allowing expansion and contraction.
Applying Finishing Touches
With your fence installed, it’s time to add those finishing touches. Use a post cap on each post for added protection against weathering. You can also stain or paint your fence to match your home’s exterior, adding durability and aesthetic appeal.
Additional Tips and Considerations
- Always call professionals before digging to ensure you won’t hit underground utility lines.
- Consider using metal posts for added strength and durability.
- If using wood materials, choose rot-resistant options such as cedar or redwood.
- Ensure proper drainage by angling the bottom of each post away from the fence line.
- Consider using lattice panels or planting shrubs along your fence line for added privacy.
- Regularly inspect and maintain your fence to ensure it remains in good condition.
The Tools You Need
- Measuring tape
- Level
- Hammer
- Post-hole digger
- Safety gear (gloves, eye protection)
Materials Required
- Posts
- Rails
- Pickets
- Concrete
Fence Maintenance Tips
- Regularly inspect for any damage or wear and tear.
- Repair or replace damaged parts promptly to avoid further issues.
- Apply a protective coating every few years to maintain the fence’s durability and appearance.
- Keep vegetation trimmed away from the fence to prevent rot and pests.
Benefits of Properly Installed Fence
Having a quality fence brings numerous benefits to your property, including:
- Increased privacy and security – A good fence can provide a barrier between your property and the outside world, giving you more peace of mind.
- Enhanced curb appeal – A well-designed fence can significantly improve the appearance of your home, making it more attractive to potential buyers if you ever decide to sell.
- Increased property value – Adding a fence is an investment that can increase the overall value of your property.
- Defined boundaries – A fence can clearly outline your property’s boundaries, avoiding disputes with neighbors over property lines.
DIY vs. Professional Installation
While installing a fence yourself can save you money, it’s essential to consider whether you have the necessary skills, tools, and time to complete the project.
Hiring a professional may cost more initially, but they have the experience and resources to ensure your fence is installed correctly and efficiently. Ultimately, it comes down to personal preference and budget.
If you choose to work alone, it’s important to take your time and follow all safety measures to avoid injury. Always consult local regulations and obtain necessary permits before beginning any DIY project. Professionals like those at Stand Strong Fencing can do the entire project for you to ensure a quality result. They can also provide cost evaluation and advice on fence materials and design.
Conclusion
With this guide and the right tools and materials, you can add a beautiful and functional fence to your property. Always follow safety measures, double-check measurements, and consult with professionals if needed.
A good fence is an investment that can provide numerous benefits, including privacy, security, and increased property value. Proper planning, preparation, and installation will ensure your fence stands the test of time.


