


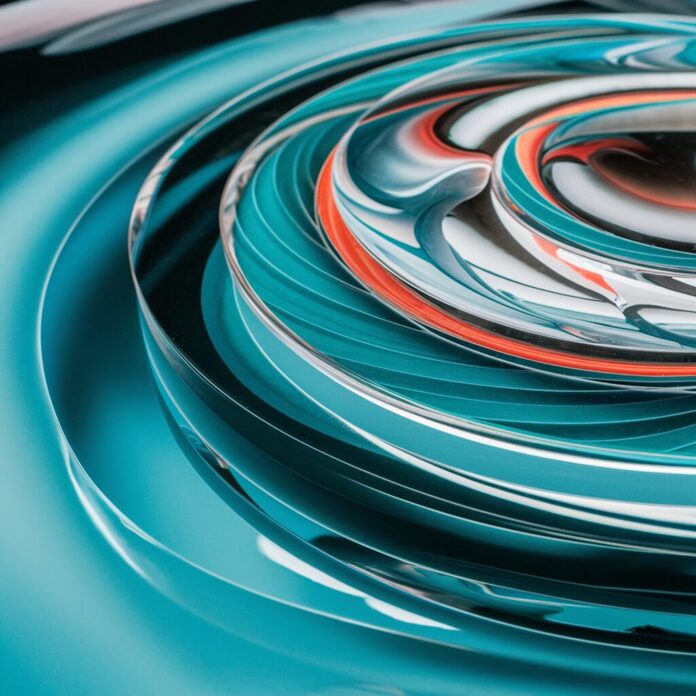
Achieving perfect results with epoxy resin can transform an ordinary project into a professional-quality masterpiece.
Also, proper experience and skills are essential, along with the selection of a high-quality epoxy resin.
This guide provides essential techniques and tips sourced from experts.
Preparation is Key
The foundation of a successful epoxy resin project lies in meticulous preparation. Ensure that your workspace is free from dust, which can mar the surface of your project. The surface itself must be completely level, as epoxy resin will naturally flow towards any inclines, potentially leading to an uneven finish. Clean the surface thoroughly to remove any oils, dirt, or debris. Use a degreaser if necessary, especially on surfaces like metal or plastic, which might harbor greasy residues. Cover your work area with a protective sheet to catch any spills or drips. Also, gather all necessary tools and materials before beginning, so you won’t have to search for items with sticky hands, as this can introduce contaminants back onto your work surface.
Measure Accurately
Accurate measurement of epoxy resin and hardener is crucial for the chemical reaction to occur correctly and for the resin to cure properly. Always follow the manufacturer’s recommended ratios, and consider using digital scales for precision. Minor deviations can result in a sticky or brittle finish, compromising the durability and aesthetics of your project. Additionally, be consistent with the units of measurement; if you start with grams, do not switch to milliliters. Prepare enough material to complete your project in one go, as mixing additional batches can lead to color and texture inconsistencies. Also, be aware of the pot life of your mixed resin—the time you have to work with it before it begins to harden.
Mix Thoroughly

Proper mixing is essential to achieve a uniform chemical reaction throughout the batch. Use a clean, dry stir stick and mix the resin and hardener slowly to avoid introducing air bubbles, which can create imperfections in the final product. Scrape the sides and bottom of the mixing container frequently to incorporate all the material. Mixing should continue for at least 3 to 5 minutes, depending on the volume, to ensure that the components are thoroughly combined. After mixing, some professionals recommend allowing the mixture to sit for a minute or two to let air bubbles rise to the surface, which can be popped with a heat gun or by gently blowing over the surface.
Temperature Control
The temperature of your working environment can significantly affect the curing process of epoxy resin. Ideal working conditions are typically between 20-25°C (68-77°F). Temperatures too low can slow down the curing process, making the resin too thick and difficult to work with, and potentially leading to an incomplete cure. High temperatures, on the other hand, can make the resin cure too quickly, reducing your working time and increasing the likelihood of bubbles. If working in a cooler environment, you might consider using a space heater to maintain an adequate temperature, or if it’s too warm, working at cooler times of the day or using air conditioning to stabilize the temperature.
Pouring Technique
The method you use to pour epoxy resin can significantly impact the quality of your finished project. Pour the resin slowly and as close to the surface as possible to minimize air bubbles. If you’re filling molds or adding layers, pour in thin, even layers to allow bubbles to escape more easily and to ensure thorough curing between layers. For larger projects, use a pouring container with a spout to control the flow better. Additionally, pour in a consistent, controlled manner to avoid splashes and uneven distribution, which could result in weak spots or aesthetic flaws. Allow each layer to settle and self-level before adding the next. This careful approach helps achieve a crystal-clear finish and prevents the formation of unwanted textures on your surface.
Curing Environment
The environment in which your epoxy resin cures can affect the integrity and appearance of your project. Keep the area dust-free and avoid working in a high-traffic area where dust and debris can be stirred up and settle on the surface of your uncured resin. Additionally, maintain a stable temperature and avoid direct sunlight, which can cause the resin to cure unevenly or discolor. Vibrations from heavy traffic or appliances can also create surface waves and prevent the resin from settling properly. If necessary, cover the project with a clean, stable box or a similar shield to protect it from dust and other environmental factors during the curing process, which can last anywhere from 24 hours to several days depending on the resin used.
Sanding for Perfection
Sanding is a critical step for projects requiring multiple layers of resin or when aiming for a perfectly smooth surface. Begin sanding only after the resin has fully cured to avoid creating gouges or uneven surfaces. Use progressively finer grits of sandpaper, starting with a coarser grit to remove any obvious imperfections or high spots, and gradually move to finer grits to achieve a smooth finish. Always sand in a circular motion and frequently wipe the surface with a damp cloth to remove dust and check your progress. Sanding not only helps achieve an even surface but also prepares the resin for additional layers or for the final finishing touches, such as polishing or painting.
Polishing to Shine
Polishing is the final step in achieving a glossy, professional finish on your epoxy resin project. Once you have sanded the surface to your satisfaction, clean it thoroughly to remove any residual dust. Use a soft, lint-free cloth and a polishing compound designed for resin. Apply the compound in small amounts using circular motions; you can use a hand buffer or a rotary tool with a polishing pad for larger areas to achieve a high gloss. Be patient and work systematically, ensuring you cover all areas evenly. The quality of your polishing will determine the overall appearance of your project, turning it from good to great by enhancing its depth and shine.
Last Words

In conclusion, achieving perfect results with epoxy resin requires a blend of careful preparation, precise execution, and attention to environmental conditions. By following these detailed steps—from preparation through to the final polish—you can ensure that your epoxy resin projects are both aesthetically pleasing and structurally sound. Each stage, whether measuring, mixing, curing, or finishing, is crucial and contributes to the ultimate success of your work.


