The addition of LVT flooring to practically any room in the house adds a touch of additional elegance to the home as well as provides you with a long-lasting, simple-to-clean, slip-resistant surface. Where previously, you may have had something that damaged easily or didn’t withstand spills or footfall too well, installing an LVT floor elevates your home to be not only cosmetically more appealing but also more durable too.
You can further enhance this versatile flooring though by adding LVT feature strips. In this blog, we look at what they are and how you install them so your LVT flooring can look even better and still give you the premium results you hope it delivers.
What is LVT flooring?
Firstly, let’s clarify what an LVT floor is. There is such variety out there these days, it is easy to find yourself sinking under the choices! LVT flooring, or Luxury Vinyl Tiling to give it its full name is a type of flooring material that replicates natural stone or wood but is completely synthetic.
Made from multiple layers of high-quality material, it delivers a practical, versatile and durable flooring solution to all rooms within the house. Made to replicate stone or wood, LVT flooring offers a safer alternative at a fraction of the cost. With its excellent slip resistance, the kids are much less likely to have an accident that results in landing on a hard surface, and thanks to its easy-to-maintain nature, a clean-up only takes a few minutes to keep it at its best. Suitable for underfloor heating systems too, an LVT floor won’t have you feeling cold when your feet touch the ground when you get out of bed or the bath!
So, What Are Lvt Feature Strips?
 To give the floor an even more authentic effect, LVT feature strips or design strips as they are sometimes referred to, help break up the tiles and give the effect of grout being in place. This may sound almost trivial but once in place, these strips further add to the finish of the floor by enhancing the realistic look of the stone or wood tiles.
Where LVT can be glued down without them, the natural stone or wood effect you are going for is made much more impressive once the strips are in place. With a host of colours and designs available, you can fully personalise the flooring to your tastes. They can only be used in the glue-down LVT tiles and planks though and not the click-system that many flooring companies now offer.
How Many Lvt Feature Strips Will I Need for Each Room?
How many strips you need will depend on the room size and the size of the tiles you are using. Simply multiply the number of boxes of floor tiles you are buying by the dimensions of each tile.
It can be done in four easy steps:
- Measure the room size to get the total number of square metres.
- Find out how many packs are needed. Many flooring suppliers will calculate this on their website for you. If they don’t, simply divide the square metres by the pack size. So, if for example, your floor was 20 Sqm, and the pack size was 3.5 metres squared, you’d do 20/3.5. This equals 5.71.
- Then work out the tile size. Most suppliers will already have this listed for you.
- Using the quantity of packs needed, multiply it by the boxes of strips per box of tiles. This will give you how many strips you require.
Installing the LVT feature strips

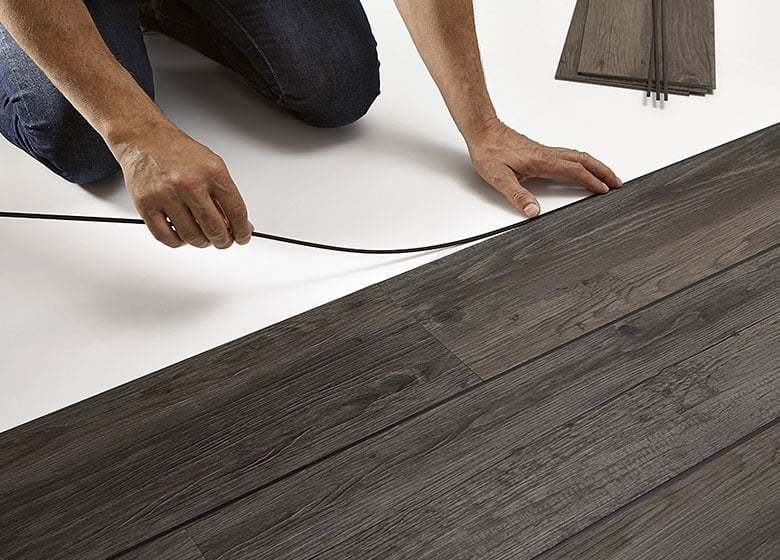
 With the amount now known, you can place an order and get ready to improve your floor. All full strips should be placed in the same direction, any pre-cut strips should be placed in the opposite direction.
You’ll need to plan the layout of the strips in advance, so you minimise waste and so that you don’t end up with four pieces all meeting at a common corner.
The strips should be fitted tightly in the space between the tiles or planks and glued down with a suitable adhesive. It would be advised that if you are installing the strips around the perimeter of the room that you start in a corner and gradually work your way out.
Design Inspiration for Lvt Feature Strips
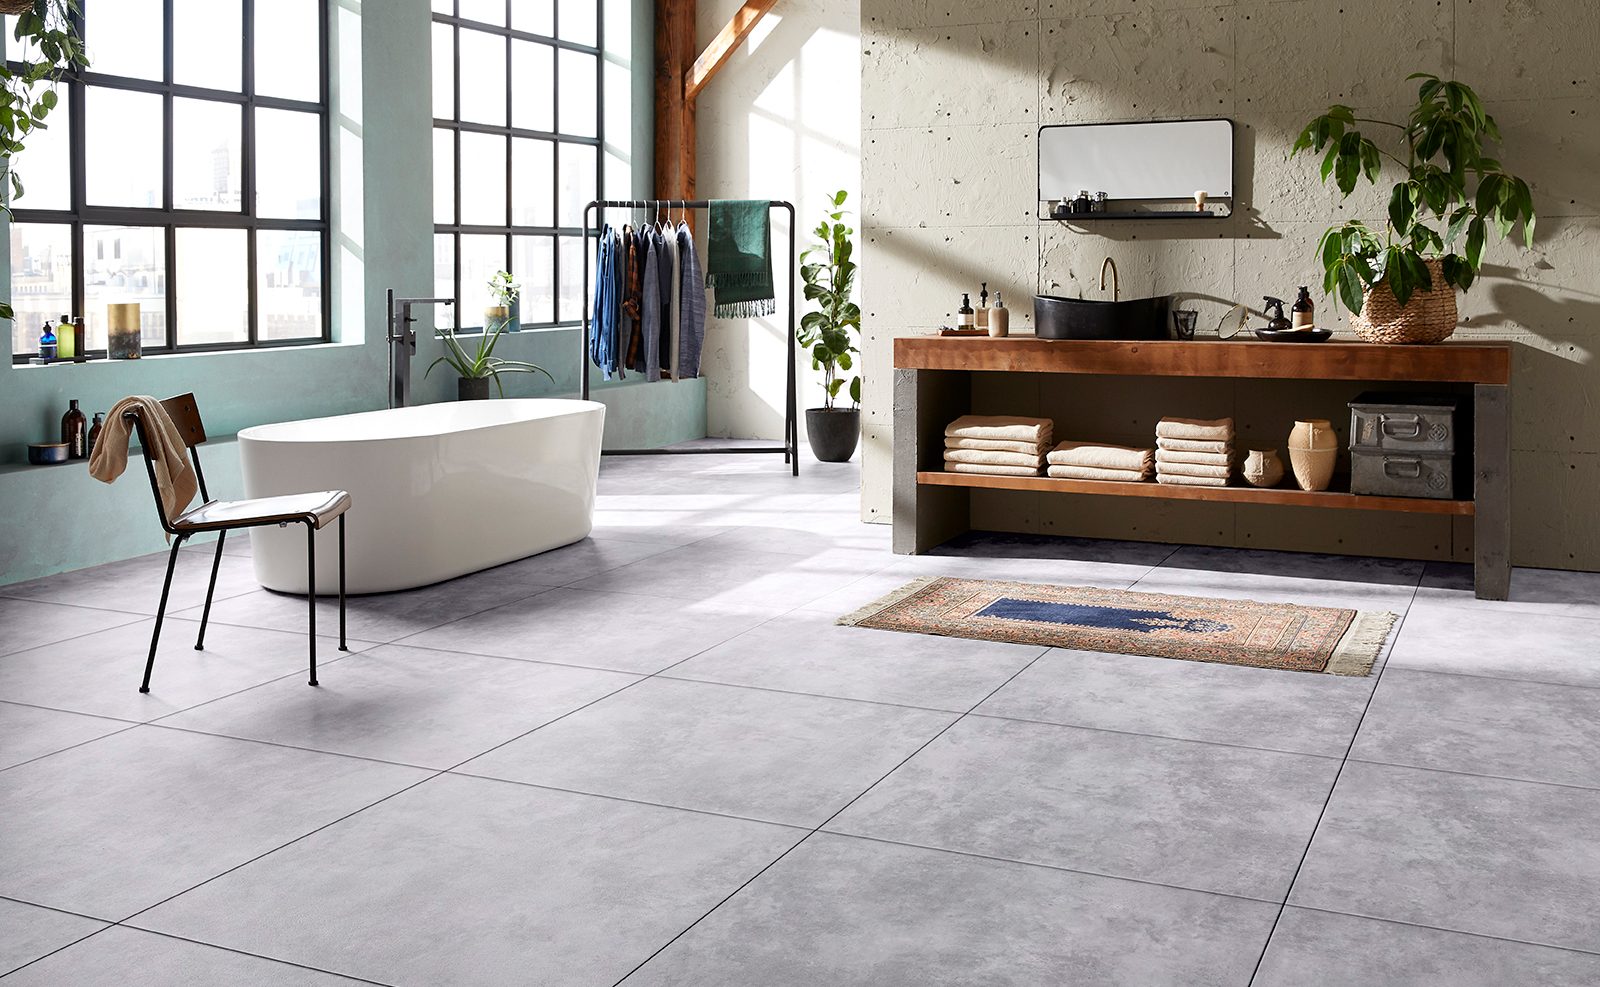
Feature strips for LVT flooring allow you to open up your creativity. You could opt for a border, you could opt for different colours, it is all down to taste. The strips aim to enhance the natural effect of the flooring so if you have a floor that has replica stone blocks, make them look that way by using the strips in each gap to ensure each tile looks like a stone block.
If your flooring looks like wooden planks. Have the strips run down each side of the planks. With the variety of styles available, you can make each room unique.
Lvt Feature Strips Hints and Tips
Just like LVT flooring, the strips are easy to maintain and durable. Just ensure the adhesive holding them down has fully dried before you step on them. You could also look to add a grout sealer to the strips once they are installed. This will further protect the strips from any sign of stain or wear.
Not all rooms are the same and if you have to navigate your way around a door or awkward corner, consider a coping saw. This will help you keep things considerably smoother!


