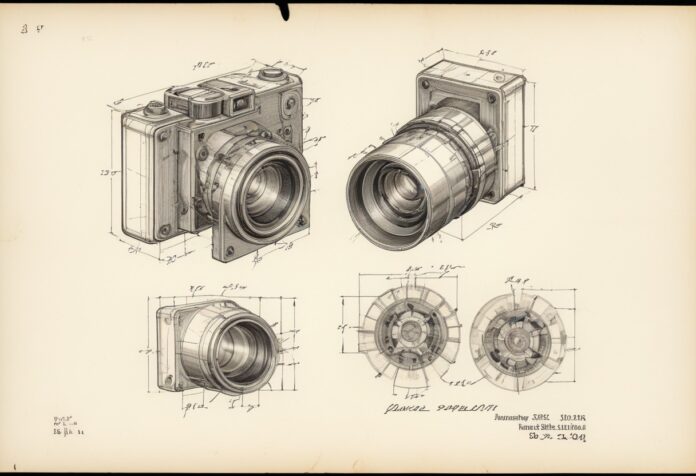
Bringing an idea to life means dealing with paperwork, deadlines, and yes, patent drawings. They’re not just about showing off your invention but ensuring your intellectual property rights stay protected. Let’s simplify the complex process and make it engaging. Below, you’ll find practical advice on how to create professional patent visuals that meet the USPTO’s standards.
Key Points
- Professional draftsmen save time and money.
- Clear visuals reduce application rejection risks.
- Avoid common errors with proper tools and expertise.
- Know USPTO standards to ensure approval.
- Use shading, labeling, and scaling effectively.
Why Using a Professional for Patent Drawings Makes Sense
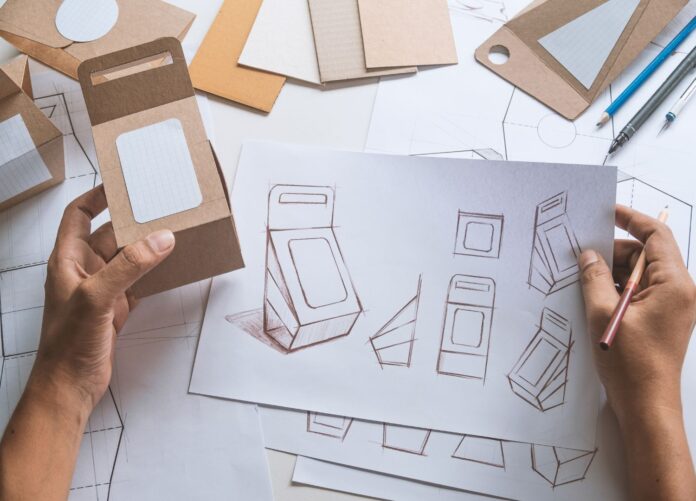

Professionals ensure that visuals represent your product accurately. This means fewer headaches during the filing process. With experts handling your patent drawings, you avoid application rejections due to non-compliance with USPTO standards. It’s also a cost-effective choice—saving time, effort, and potential re-dos that DIY efforts often require. Artworks IP has built a reputation for reliable service, offering everything from technical drawings to 3D modeling.
When you hire professionals, you’re not just outsourcing a task—you’re investing in precision. Their expertise eliminates guesswork, ensures compliance, and provides a polished final product. This is especially valuable when dealing with strict USPTO guidelines.
Breaking Down USPTO Standards for Patent Drawings
USPTO standards exist to ensure that every submission is clear, uniform, and legally defensible. Adhering to these rules is crucial for acceptance. Here are the most important aspects to remember:
Black ink is non-negotiable for all visuals. Color and shading are only allowed under specific circumstances, and even then, they require explicit approval. Margins play an essential role as well: one inch on the top and left sides, with half an inch on the bottom and right. These margins help examiners handle and review documents efficiently.
Another critical requirement is including multiple views of your invention. The top, side, sectional, and isometric views provide a complete understanding of your creation. Missing any essential perspective can lead to delays or outright rejection. Remember, the goal is to communicate your design effectively and leave no room for ambiguity.
Common Mistakes to Avoid When Preparing Drawings
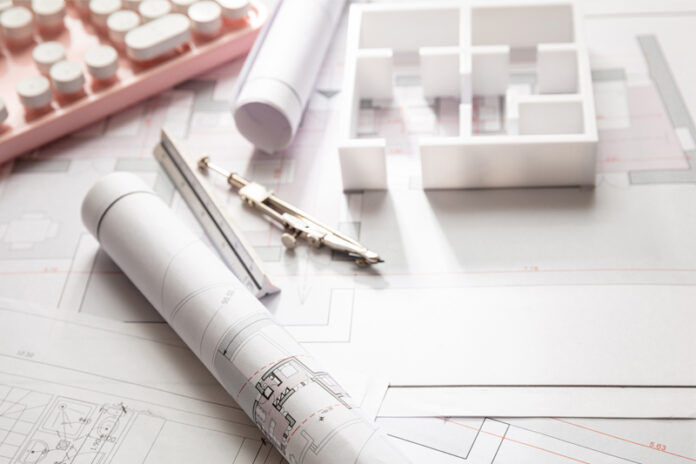

Mistakes in patent visuals can cost time and money. Here’s a closer look at errors to sidestep:
One common error is adding excessive details that clutter the image. Simple, clear visuals make it easier for examiners to understand your invention. Another pitfall is omitting critical views, such as cross-sections or exploded diagrams. These details are often necessary to showcase how your invention works.
Inconsistent measurements are another red flag. Every element of your visuals must be to scale, and those scales must match across all images. Mislabeling components or using reference numbers inconsistently also creates confusion. Finally, avoid submitting drawings with poor resolution or smudged lines. Crisp, high-quality images are essential.
By taking these points into account, you can improve your chances of success and avoid frustrating setbacks.
The Tools You Need for Precise Patent Drawings
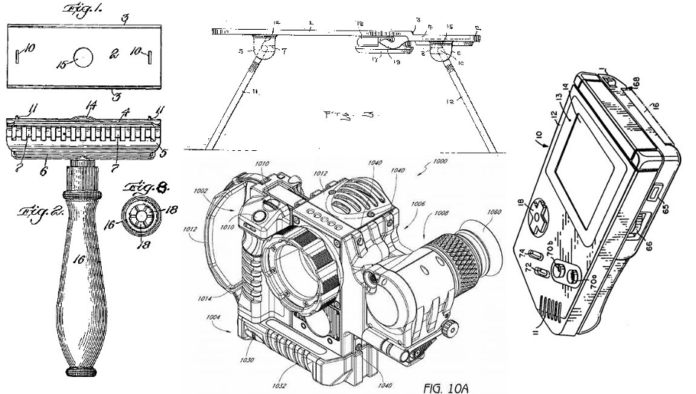

Quality visuals require the right tools. Whether you’re working digitally or manually, precision is key.
For digital work, software like AutoCAD or SolidWorks is a must. These programs offer advanced features for creating technical designs with ease. For manual efforts, invest in high-quality drafting tools such as rulers, compasses, and protractors. Templates designed for patent drawings can also help you meet USPTO requirements without extra effort.
Beyond tools, a good workspace matters too. A clean, organized environment allows you to focus on accuracy and detail. Combining professional tools with a disciplined setup ensures your visuals meet the highest standards.
Steps to Create Professional Patent Drawings
Producing effective visuals involves careful planning and execution. Here’s a breakdown of the process:
- Begin with rough sketches. Draft basic ideas on paper to clarify your design.
- Determine the views you need. Include perspectives that best showcase the functionality and innovation of your invention.
- Focus on accurate proportions. Consistent scaling across all visuals ensures clarity.
- Add labels and reference numbers. Clear identification of each component is essential for comprehension.
- Review the USPTO guidelines. Double-check for compliance before submitting your work.
Each of these steps builds on the last, resulting in visuals that communicate effectively while meeting legal requirements.
Using Shading, Labeling, and Scaling for Maximum Clarity
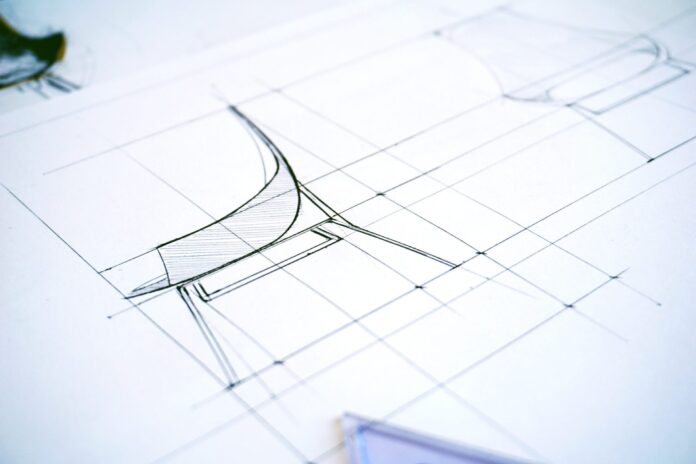

Shading adds depth to patent visuals, but it must be used sparingly and correctly. Simple hatching lines can indicate texture or material differences without overwhelming the image. Labels are equally important; they should be bold and placed strategically to avoid clutter. Each element should have a unique number for easy reference.
Scaling deserves special attention. Inconsistent sizes or proportions confuse examiners and can lead to rejection. Ensuring uniformity across all visuals makes your submission clear and professional. Think of it as crafting a visual story—each detail should enhance understanding rather than distract from it.
New Subheading: Benefits of Partnering With a Patent Draftsman
Collaborating with a professional draftsman isn’t just convenient; it’s strategic. Experts understand the nuances of USPTO standards and can tailor your visuals to meet every requirement. This eliminates the guesswork and ensures compliance from the outset.
Professionals also save time. Their experience allows them to produce high-quality drawings quickly, giving you more time to focus on other aspects of your application. Moreover, they use advanced tools and techniques that may be out of reach for individual inventors.
The cost-effectiveness of hiring a draftsman cannot be overstated. Rejections or resubmissions often come with additional fees, not to mention wasted time. Partnering with an expert minimizes these risks and sets you on the path to success.
Preparing Your Invention for Drawing
Before you begin creating visuals, take the time to prepare your invention. Start by documenting every detail of your design. Photos, notes, and even videos can help you capture the full scope of your idea.
Next, identify the key features that set your invention apart. These should be the focus of your drawings. Think about how each view—top, side, sectional—can highlight those features effectively.
Finally, organize your materials. Having all your references, tools, and guidelines in one place streamlines the process. Preparation ensures that your visuals are accurate, compliant, and ready for submission.
How to Save Time and Money During the Process
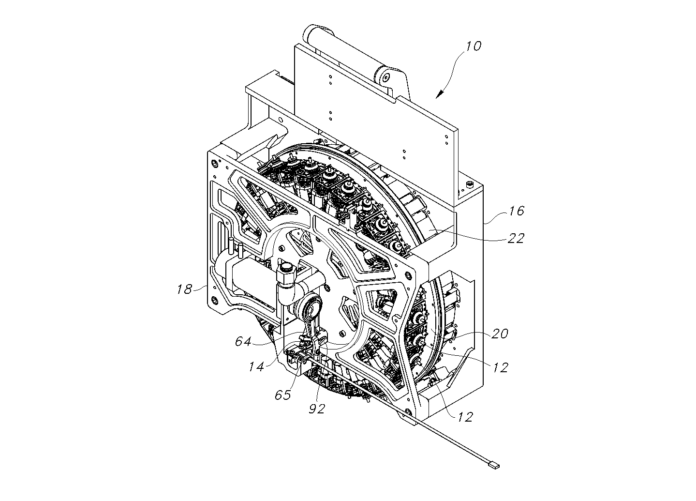

Efficiency is crucial when working on patent visuals. One of the easiest ways to save time is by hiring professionals. Their expertise eliminates the trial-and-error phase, delivering high-quality results on the first attempt.
Organizing your ideas before drafting also makes a big difference. Having a clear plan reduces the need for revisions. Templates can further streamline your work by providing pre-set margins and layouts that meet USPTO standards.
By taking these steps, you not only save time but also reduce costs associated with errors and re-submissions.
FAQs
Do I need to include every angle of my invention?
Yes. Omitting key views can result in a rejection.
Can I use color to highlight features?
No, unless required by the USPTO. Stick to black-and-white visuals.
What happens if my proportions are off?
Your application risks rejection. Consistency is non-negotiable.
Should I hire a professional or go DIY?
Professionals save time and ensure compliance. DIY efforts often lead to mistakes.
Conclusion
Clear, accurate patent drawings aren’t optional—they’re essential. Following USPTO guidelines and avoiding common errors sets you up for success. If creating visuals feels overwhelming, trust a professional to deliver results that meet every requirement. Whether saving time, avoiding rejection, or showcasing your invention effectively, a little effort upfront pays off in the long run. Your innovation deserves nothing less.

